STEP 5 - Thoroughly clean, recheck and re-clean
the glass panes....
Now to re-assemble sealed unit - this stage
should be done in an area where there is little dust
floating around. If you try this outdoors on a breezy day
for example you'll be surprised at how many bits and pieces
end blowing onto your scrupulously cleaned glass!
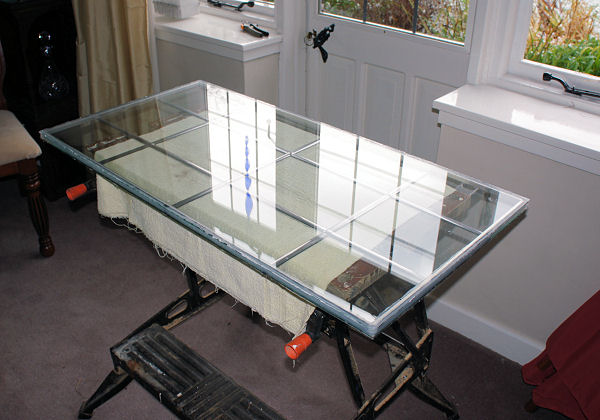
Take your bottom pane of glass and lay it on
the workbench with the face of the pane which will be the
inside face of the sealed unit upwards. Thoroughly check how
clean this face is - you will not get another chance to
remove any slight smears you might have left behind. If
necessary lift the pane and hold it to the light to check
how clean it really is.
I used a bought window cleaning liquid and
paper kitchen roll to clean the glass. Whichever way you do
it, make sure the glass is clean before you re-seal the
unit!
|
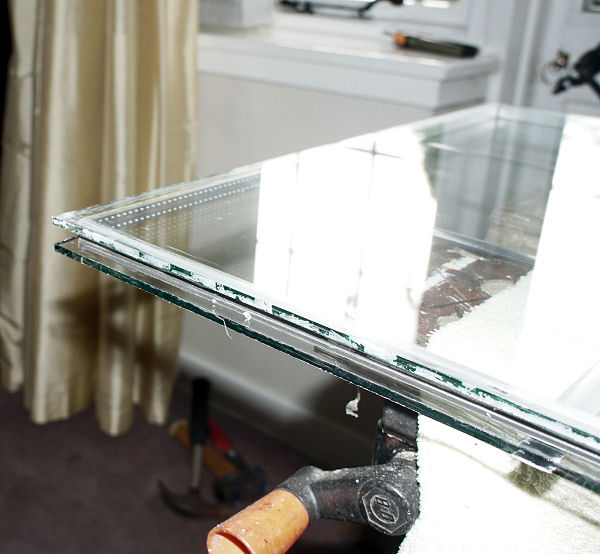
...place the bottom pane on the
bench and make sure it is thoroughly clean.. |

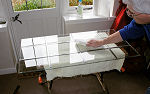
...position the refurbished spacer
frame centrally.... |
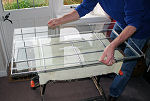
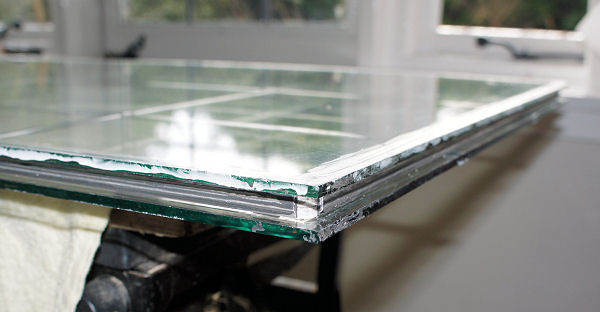
...finally position the clean top
pane on the frame.... |
Place and position the refurbished spacer
frame on the glass pane - make sure it is positioned
centrally with an equal distance all around the outside
edge. Make sure the spacer bars are straight and not bowed.
Take the top glass pane and thoroughly check
how clean its inside face is, as before hold the glass up to
the light to check for smears. Make sure it is clean before
placing the glass pane onto the spacer frame. Then check
again how clean the glass actually is, you will find this
easier if both sides of the top pane are clean.
You will not get another chance to check how
clean the glass is......
|

...make sure the top pane is
properly aligned with the lower pane.. |
...check that the edge gap to the
spacer frame is the same all around the unit..... |
STEP 6 - Re-seal the double glazing unit....
It is very helpful at this stage if the glass
overhangs the workbench support - it is easier to work and
clean-up the sealing if both top and bottom edges are free.
You will also need good working room around the workbench
I used a
good quality silicone glazing sealant which can be
applied using a standard hand-operated sealant gun. Don't
skimp on cost here - the quality of the silicone sealant will
dictate to a large extent the durability of your repair. You
want it to bond well the the glass surfaces and to last.
(UPDATE - see the home page for some
comments on choice of sealant type.)
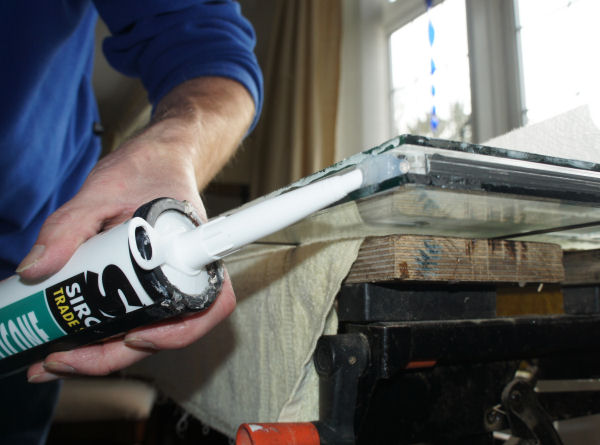
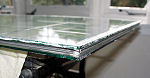
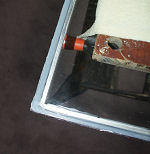
You will fill the outer gap between the panes and
the aluminium spacer, so cut the sealant tube nozzle to open
out a fairly generous hole consistent with the distance
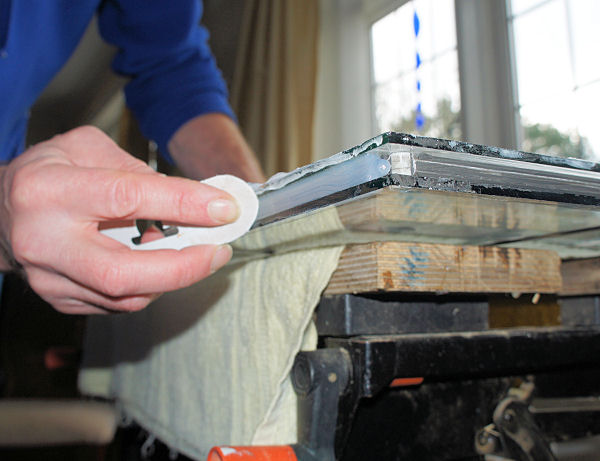
between the panes (the spacer size). I also cut a simple
"smoothing" tool from a sheet of thin plastic card I had.
The tool has a rounded front edge which I used to run along
the filled gap to press the sealant into the gap and remove
excess silicone - see the images.
|
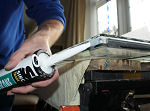
...start at a corner and fill the
gap with silicone sealant.. |
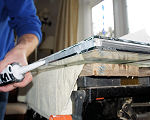
...keep a steady flow and reverse
to the next corner.... |
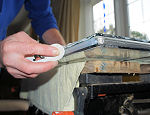
...run the smoothing tool along
the gap to remove excess.... |
Start at a corner - I worked on one edge at a
time. Run the gun along the edge filling the gap with
silicone so that the sealant comes out roughly to the edge of
the glass. Make sure you don't leave big air gaps - so keep
a steady flow and work in reverse along the edge. Stop at
the next corner.
Go back to the start of the edge you've just
filled and slowly and carefully run your smoothing tool
along the gap; this will squeeze the sealant and remove any
air bubbles and fill gaps that you might have left. It will
also ensure the silicone is pressed against the glass
surfaces to make for a good bond and it will remove excess
sealant. Use the tool to wipe of the excess. Take care
however not to pressurise the silicone too much with the tool
as this might move the spacer bar.
|
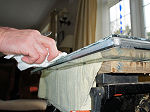
...clean the top and bottom
surfaces.. |
...repeat along all four edges to
completely re-seal the unit.... |
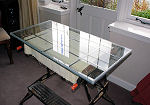
...leave to sit for at least 6
hours for the silicone to set sufficiently for the
unit to be handled.... |
Repeat the process for each of the remaining
edges. Pay particular attention to the sealing at the
corners - make sure they are properly filled and that any
air gaps are filled. Visually check the contact between
silicone and the glass - look for any thin areas or gaps - if
you've filled the gap properly and used the smoothing tool
the seal should be good all the way around.
Now you need to wait - the unit should be
left undisturbed for around six hours to let the silicone set
sufficiently to allow the unit to be handled. You can see
why this job is best done on a dry day with long enough
daylight - it isn't easy in the winter!
I have been able to handle some units after
about 4 hours - but it depends on your silicone sealant's
setting times. It is best to err on the safe side however
and leave it well alone for longer - if you handle the unit
and move one of the panes out of position then it is likely
that the seal will be destroyed and you will need to split
the unit, clean it up and re-seal!
Next page - for step 7, re-fitting the sealed
unit to the window frame......